P50GAP40x00CxxxXXX P50GAP40x00CxxxXXX-0xxxxxxxxxx Protective Film Touch Screen Panel

| Share | |
|---|---|
| Categories | Lenze Controller P300 P500 Series |
| Trademark/Brand | VICPAS |
| Model | P50GAP40x00CxxxXXX P50GAP40x00CxxxXXX-0xxxxxxxxxx |
| Brand | Lenze |
| Warranty | 365 Days |
| Product Line | LENZE Controller P500 Series |
| Supply | LENZE Controller P500 Touch Panel Protective Film |
| Part Number | P50GAP40x00CxxxXXX |
| Part Number | P50GAP40x00CxxxXXX-0xxxxxxxxxx |
| Shipping | 2-4 workdays |
| Terms of Payment | Western Union, T/T, PayPal, Credit Card |
| Update Time | Dec 15,2025 |
LENZE P50GAP40x00CxxxXXX P50GAP40x00CxxxXXX-0xxxxxxxxxx Touch Digitizer Glass Protective Film Repair

VICPAS supplies LENZE Controller P500 Series P50GAP40x00CxxxXXX P50GAP40x00CxxxXXX-0xxxxxxxxxx Protective Film and Touch Panel with 365 days warranty and support Urgent Worldwide Shipping.
P50GAP40x00CxxxXXX P50GAP40x00CxxxXXX-0xxxxxxxxxx Protective Film Touch Membrane Controller P500 Mechanical installation
• Install the Lenze drive and automation components according to the instructions given in the corresponding documentation.
Select the mounting location so that the "Operating conditions" in the "Technical data" chapter of the product catalog are guaranteed.
• In the installation space, continuous and sufficient air circulation is absolutely required to dissipate the heat of the P50GAP40x00CxxxXXX P50GAP40x00CxxxXXX-0xxxxxxxxxx Touch Digitizer Front Overlay Lenze Controller P500 device. The ventilation slots must not be covered.
• Provide for careful handling and avoid mechanical overload. During handling neither bend components, nor change the insulation distances.
• The P50GAP40x00CxxxXXX P50GAP40x00CxxxXXX-0xxxxxxxxxx Touch Digitizer Protective Film Controller P500 devices contain electrostatic sensitive devices that can be easily damaged by short circuit or static discharge (ESD). Thus, only touch electronic components and contacts if ESD measures were taken before.
Specifications:
The table below describes the parameters of the LENZE Controller P500 Series P50GAP40x00CxxxXXX P50GAP40x00CxxxXXX-0xxxxxxxxxx Touch Panel Protective Film HMI Parts.
| Backlight: | LED |
| Display Resolution: | 800x600 pixels |
| Display Size: | 10.4 inch |
| Product Line: | LENZE Controller P500 Series |
| Touchscreen: | Resistiv |
| Brand: | Lenze |
| Power Consumption: | 12.0 W |
| Power Supply: | +24 VDC, (+18 ... 32 VDC) |
| Storage Temperature: | -20 °C ~ +60 °C |
| Warranty: | 365 Days |
Related LENZE Controller P500 Series HMI Part No. :
| LENZE Controller P500 | Description | Inventory status |
| P50GAP40300C4G0XXX | LENZE Controller P500 Series Touch Screen Glass Protective Film | In Stock |
| P50GAP40300C4G0XXX-02S14015000 | LENZE Controller P500 Series Front Overlay Touch Screen Panel Repair | Available Now |
| P50GAP40300C4G9XXX | LENZE Controller P500 Series Protective Film Touch Panel Repair | In Stock |
| P50GAP40x00CxxxXXX | LENZE Controller P500 Series HMI Touch Glass Front Overlay Replacement | Available Now |
| P50GAP40x00CxxxXXX-0xxxxxxxxxx | LENZE Controller P500 Series Touch Screen Panel Front Overlay Repair | In Stock |
| P50GAP40x00MxxxXXX | LENZE Controller P500 Series HMI Protective Film Touch Membrane | In Stock |
| P50GAP40x00MxxxXXX-0xxxxxxxxxx | LENZE Controller P500 Series Front Overlay Touch Glass Repair | In Stock |
| P50GAP60x00CxxxXXX | LENZE Controller P500 Series Touch Digitizer Glass Protective Film | Available Now |
| P50GAP60x00CxxxXXX-0xxxxxxxxxx | LENZE Controller P500 Series Front Overlay Touch Digitizer Glass | Available Now |
| P50GAP60x00MxxxXXX | LENZE Controller P500 Series Protective Film Touch Screen Monitor | In Stock |
| P50GAP60x00MxxxXXX-0xxxxxxxxxx | LENZE Controller P500 Series MMI Touch Screen Front Overlay Replacement | In Stock |
| Controller P500 Series | Description | Inventory status |
Lenze Controller P500 Series Manuals PDF Download:
FAQ:
Question: How to connect a new Controller?
Answer:
1. Insert the SD card of the removed Controller into the new one.
2. Mount the new Controller.
3. Optional: Mount and connect the electronic module of the I/O system 1000 (EPM-Sxxx).
4. Connect supply connections, bus connections and all other connections to the Controller.
5. Switch on voltage supply.
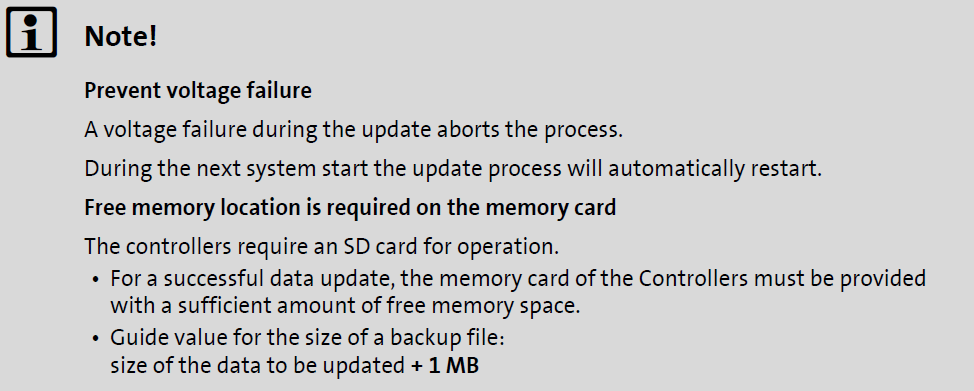
The Controller starts the automatic update:
• The data of the SD card of the defective Controller such as an executable boot project and a visualisation are reused in the replacement device. Thus, a quick commissioning is possible.
• The progress of the update process can be followed in the logbook of the Controller and is also indicated by the Status LEDs of the Controllers

Question: How to create control elements?
Answer:
1. In the Project Explorer double-click an existing form in the Design folder.
The "FCentral" form is created for a new project.
2. Open the tool box using the View→Tool box menu command or via the tab on the right of the screen.
3. Move the desired control elements using the Tool box via drag&drop to the desired position in the workspace.
Common misspellings:
P50GAP40x00CxxxXXX P50GP40x00CxxxXXX-0xxxxxxxxxx50GAP40x00CxxxXXX P50GAP40x00CxxxXXX-0xxxxxxxxxx
P50GAP40x00CxxxXXX 5P0GAP40x00CxxxXXX-0xxxxxxxxxx
P50GAP40x00CxxxXXX P5oGAP40x00CxxxXXX-0xxxxxxxxxx
P50GAP40x00CxxxXXX P50GAP40x00CxxxXXXX-0xxxxxxxxxx
- Loading...
- Mobile Phone
- *Title
- *Content
 Fast Quote
 Worldwide Shipping
 12 Months Warranty
 Customize Service
- Mobile Phone
- *Title
- *Content


 Fast Quote